
How to Make Fishing Lures
Introduction
Kayak fishing is not just a hobby; it’s a way of life for many enthusiasts around the world. Whether you’re a seasoned angler or just starting, having the right lure and knowing how to make fishing lures can make all the difference between a successful day on the water and coming home empty-handed.

While there are countless lures available on the market, there’s something special about crafting your fishing lures. Not only does it give you a sense of accomplishment, but it also allows you to tailor your lures to the specific conditions and fish species you’re targeting.
In this comprehensive guide, we’ll explore the art of making fishing lures in six parts. From selecting the right materials to assembling and customizing your creations, you’ll learn everything you need to know to craft effective lures that will help you reel in the big ones.
Why Make Your Own Fishing Lures?
Before we delve into the intricacies of lure-making, let’s take a moment to consider why you might want to embark on this rewarding endeavor.
- Customization: When you make your own lures, you have complete control over their design, color, size, and action. This allows you to tailor your lures to the specific fish species you’re targeting and the conditions you’re fishing in.
- Cost-Effectiveness: While purchasing fishing lures can quickly add up, making your own can be a more cost-effective option in the long run. Once you have the necessary materials and tools, you can create multiple lures at a fraction of the cost of buying them.
- Creativity: Making fishing lures is a creative process that allows you to express your individuality and experiment with different designs and techniques. Whether you’re replicating a classic lure or inventing something entirely new, the possibilities are endless.
- Satisfaction: There’s a unique sense of satisfaction that comes from catching fish on lures that you’ve crafted with your own hands. It adds an extra level of enjoyment to the fishing experience and fosters a deeper connection to the sport.
Now that we’ve established the benefits of making your own fishing lures, let’s move on to the first step: selecting the right materials.
Selecting the Right Materials
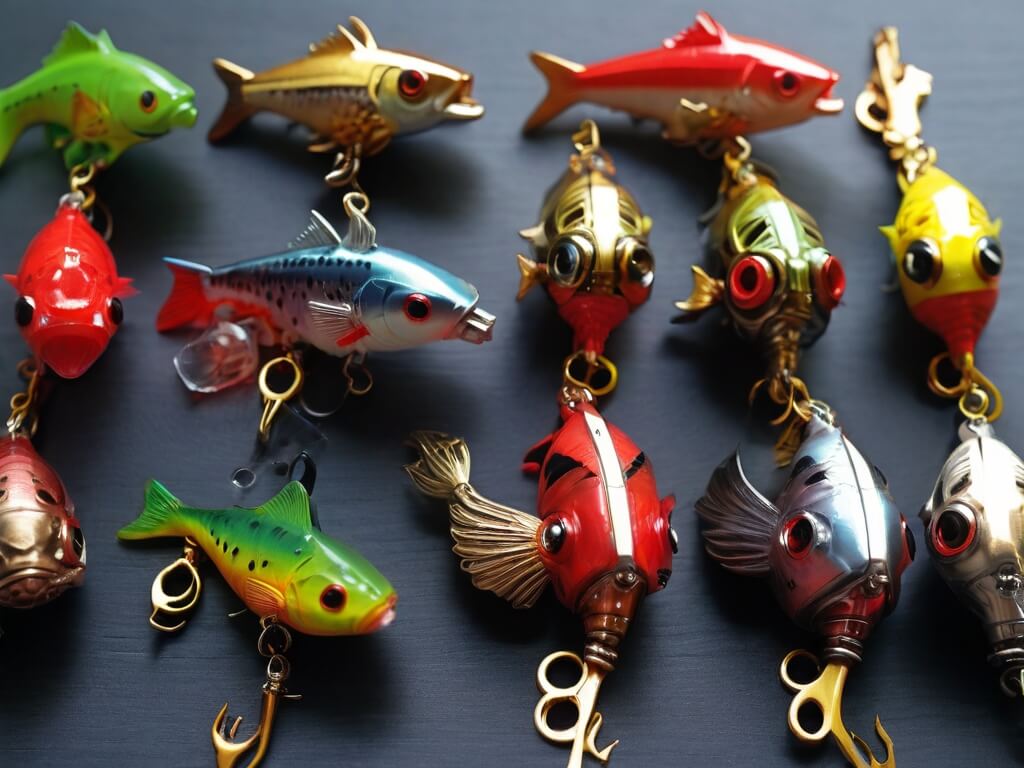
The key to making effective fishing lures lies in selecting the right materials. While there are countless options available, certain materials are better suited for specific types of lures and fishing conditions.
Materials for Making Fishing Lures
- Metal: Metal components, such as hooks, blades, and beads, are commonly used in lure-making. They are durable, versatile, and can be easily customized to achieve different actions and attract fish.
- Plastic: Plastic is another popular material for making fishing lures, particularly soft plastics like silicone and vinyl. These materials are flexible, lifelike, and can be molded into a wide variety of shapes and sizes.
- Wood: Wooden lures have a classic appeal and are favored by many anglers for their buoyancy and natural action in the water. Popular wood choices for lure-making include balsa, cedar, and basswood.
- Feathers and Fur: Feathers and fur are often used to add lifelike movement and texture to fishing lures. They can be incorporated into fly patterns, spinnerbaits, and jigs to mimic the appearance of prey and entice strikes from fish.
- Synthetic Materials: Synthetic materials, such as rubber skirts, silicone tabs, and Mylar flash, are commonly used to add color, flash, and movement to fishing lures. They can be combined with other materials to create highly effective and visually appealing lures.
When selecting materials for your fishing lures, consider the species of fish you’re targeting, the type of water you’ll be fishing in, and the fishing techniques you plan to use. By choosing the right materials, you can create lures that are both effective and durable.
Tools and Equipment
Now that you’ve selected the materials for your fishing lures, it’s time to gather the necessary tools and equipment to bring your creations to life. While you don’t need a fancy workshop to make fishing lures, having the right tools can make the process much easier and more enjoyable.
Essential Tools for Making Fishing Lures
- Pliers: A good pair of pliers is essential for bending, twisting, and cutting wire, as well as crimping sleeves and attaching components. Look for pliers with a comfortable grip and durable construction.
- Scissors: Sharp scissors are indispensable for cutting materials like plastic, rubber, and feathers with precision. Choose a pair of scissors specifically designed for crafting to ensure clean cuts.
- Wire Cutters: Wire cutters are necessary for cutting through metal wire, hooks, and other hardware. Look for wire cutters with sharp blades and ergonomic handles for ease of use.
- Drill: A small hand drill or rotary tool is useful for drilling holes in wooden and plastic components, as well as for shaping and finishing lure bodies. Make sure to use drill bits appropriate for the materials you’re working with.
- Vise: A vise is helpful for securely holding lure components in place while you work on them. Look for a sturdy vise that can be attached to your workbench or tabletop.
- Heat Source: Depending on the materials you’re working with, you may need a heat source for tasks like melting lead, curing epoxy, or shaping plastic. Options include a propane torch, heat gun, or hot plate.
- Paint Brushes: Fine paint brushes are essential for applying paint, epoxy, and other finishes to your lures. Look for brushes with soft bristles and a variety of sizes for different applications.
- Safety Gear: Safety should always be a top priority when working with tools and materials. Be sure to wear safety glasses, gloves, and a dust mask to protect yourself from flying debris, sharp objects, and harmful fumes.
In addition to these basic tools, you may also want to invest in specialized equipment for specific types of lures or techniques, such as a fly-tying vise for making flies or a mold for pouring soft plastic baits.
Setting Up Your Workstation
Before you begin making fishing lures, take some time to set up a dedicated workspace where you can work comfortably and safely. Ideally, your workstation should be well-lit, well-ventilated, and equipped with all the necessary tools and supplies within easy reach.
- Workbench: A sturdy workbench or table is essential for providing a stable surface to work on. Make sure your workbench is at a comfortable height and has enough space for your tools and materials.
- Storage: Keep your tools and materials organized and easily accessible by storing them in bins, drawers, or toolboxes. This will help prevent clutter and make it easier to find what you need when you need it.
- Ventilation: If you’ll be working with any materials that produce fumes or dust, such as paint, epoxy, or plastic, make sure your workspace is well-ventilated to avoid inhaling harmful substances. Open windows and doors, or use a fan or ventilation system to keep the air circulating.
- Cleanup Station: Set up a designated area for cleaning and disposing of waste materials, such as scraps of wire, plastic, and paint. Having a cleanup station will make it easier to keep your workspace tidy and free of debris.
By setting up a well-organized and efficient workstation, you’ll be better equipped to tackle the task of making fishing lures and enjoy a smoother and more enjoyable crafting experience.
Techniques for Making Fishing Lures
Now that you have your materials, tools, and workstation set up, it’s time to dive into the techniques for actually making fishing lures. Whether you’re molding plastic bodies, painting intricate designs, or adding realistic eyes and finishes, mastering these techniques will allow you to create lures that not only look great but also perform well in the water.
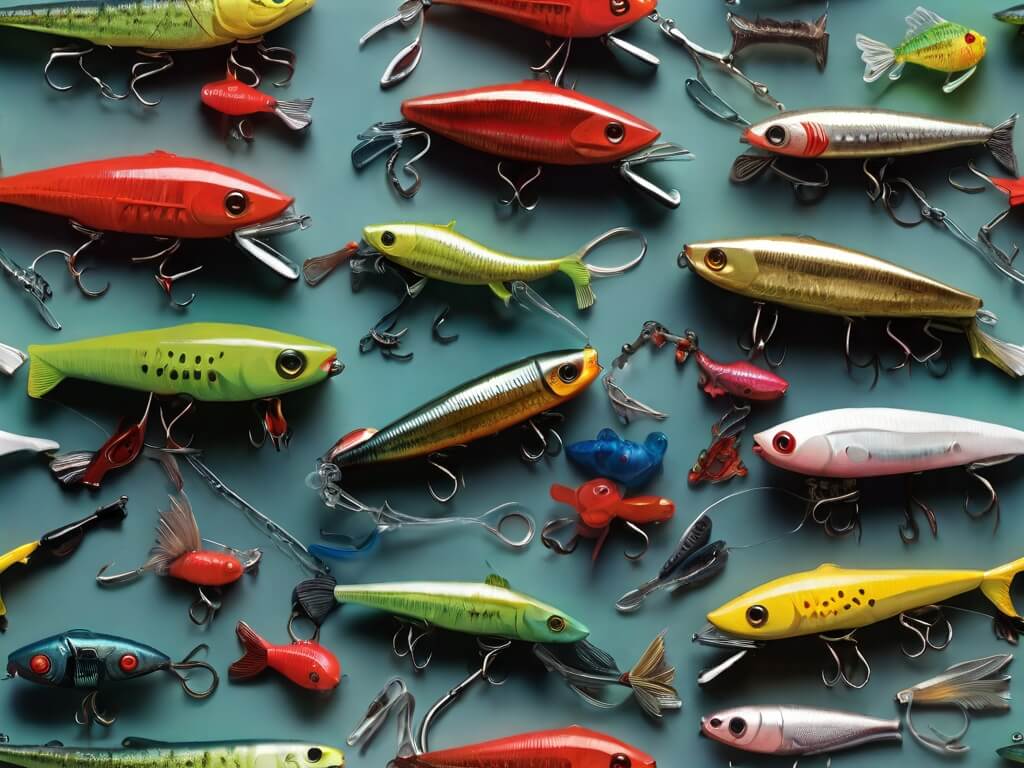
Molding and Shaping
- Injection Molding: Injection molding is a common method for producing plastic fishing lure bodies. It involves injecting molten plastic into a mold cavity under high pressure, then allowing it to cool and harden. This process can produce lures with precise shapes and intricate details.
- Hand Pouring: Hand pouring is another popular method for making plastic lure bodies, particularly for smaller-scale production or custom designs. It involves pouring liquid plastic into a mold by hand and allowing it to cure before removing the finished lure.
- Carving and Shaping: For wooden lures, carving and shaping are essential techniques for creating the desired shape and profile. Use a combination of carving tools, sandpaper, and files to sculpt the wood into the desired shape, taking care to achieve smooth curves and contours.
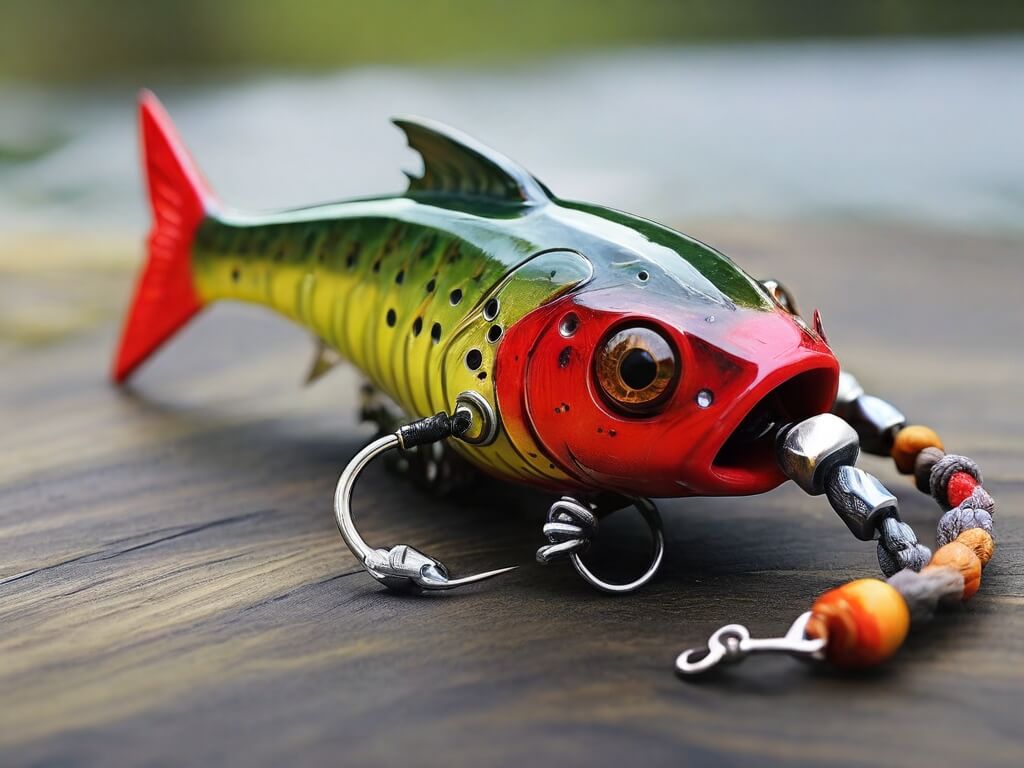
Painting and Finishing
- Priming: Before painting, it’s important to prime your lure bodies to ensure proper adhesion and durability. Apply a thin coat of primer to the surface of the lure and allow it to dry completely before proceeding.
- Base Coat: Start by applying a base coat of paint to the lure body in the desired color. Use a brush or airbrush to apply the paint evenly, taking care to cover the entire surface.
- Detailing: Once the base coat is dry, add details such as stripes, spots, or scales using fine brushes or stencils. Take your time and work carefully to achieve crisp, clean lines and realistic effects.
- Finishing: After painting, apply a clear topcoat or epoxy finish to protect the paint and give the lure a glossy, durable finish. Make sure to follow the manufacturer’s instructions for mixing and applying the finish for best results.
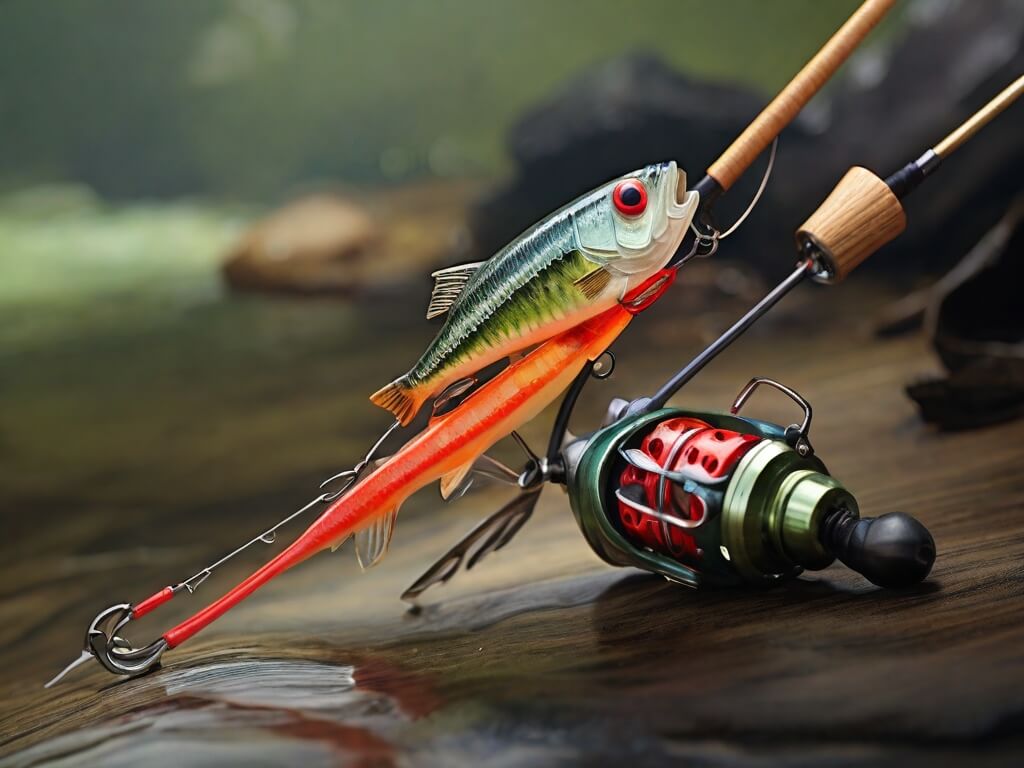
Adding Components
- Hooks and Hardware: Once the lure body is finished, it’s time to add hooks, blades, and other hardware. Use pliers to attach hooks securely to the lure body, making sure they are positioned correctly for optimal action and hooking ability.
- Eyes: Adding realistic eyes to your lures can enhance their appearance and make them more attractive to fish. You can use adhesive-backed eyes or paint them on by hand using fine-tipped brushes.
- Skirts and Trailers: For lures like spinnerbaits and jigs, adding skirts or trailers can increase their attractiveness and action in the water. Attach skirts using rubber bands or silicone tabs, and experiment with different colors and lengths to find what works best.
Testing and Tweaking
- Field Testing: Once your lures are finished, it’s important to field test them to see how they perform in real fishing conditions. Take them out on the water and experiment with different retrieves, depths, and presentations to see how fish respond.
- Tweaking: If your lures aren’t performing as expected, don’t be afraid to make adjustments and tweaks to improve their effectiveness. This could involve changing the weight distribution, adjusting the size or shape of components, or experimenting with different colors and finishes.
By mastering these techniques and experimenting with different materials and designs, you’ll be able to create custom fishing lures that are not only effective at catching fish but also reflect your own unique style and creativity.
Advanced Techniques for Making Fishing Lures
Now that you’ve mastered the basics of making fishing lures, it’s time to explore some advanced techniques for creating specialized types of lures. From topwater baits that create enticing surface strikes to crankbaits that dive deep to reach fish holding in deeper water, these techniques will take your lure-making skills to the next level.
Topwater Baits
Topwater baits are designed to float on the surface of the water, creating enticing surface disturbances that attract fish and provoke strikes. Making topwater baits requires careful attention to detail and precision craftsmanship to achieve the desired action and buoyancy.
- Wood Carving: Carve the body of the lure from lightweight wood such as balsa or cedar, taking care to shape it for optimal buoyancy and action. Sand the surface smooth and seal it with a waterproof finish to prevent water damage.
- Adding Hardware: Attach hooks, split rings, and hardware to the lure body using small screws or through-wire construction. Make sure the hardware is securely attached and balanced to ensure proper action in the water.
- Adding Features: To enhance the attractiveness of your topwater bait, consider adding features such as propellers, rattles, or cupped faces to create additional noise and commotion on the surface.
Crankbaits
Crankbaits are designed to dive underwater when retrieved, imitating the swimming action of baitfish and other prey. Making crankbaits requires careful attention to weight distribution, lip design, and diving depth to achieve the desired action and diving depth.
- Lip Design: Choose a lip design that matches the desired diving depth and action of your crankbait. Lips come in various shapes and sizes, each producing a different swimming action and diving depth.
- Weight Distribution: Balance the weight distribution of the lure to achieve the desired buoyancy and diving action. Experiment with different weight placements and materials to fine-tune the lure’s performance.
- Adding Color and Detail: Paint the lure body in vibrant colors and add realistic details such as scales, fins, and eyes to make it more attractive to fish. Use stencils, brushes, and airbrushes to achieve crisp, clean lines and realistic effects.
Soft Plastics
Soft plastics are versatile lures made from flexible materials such as silicone, vinyl, or rubber. They can be molded into a wide variety of shapes and sizes, making them ideal for imitating a wide range of natural prey items.
- Molding Soft Plastics: Mix and pour liquid plastic into molds to create soft plastic lure bodies in various shapes and sizes. Experiment with different colors, additives, and scents to customize your soft plastics for different fishing conditions.
- Adding Features: Enhance the attractiveness of your soft plastics by adding features such as scent impregnation, glitter, or embedded flakes to make them more appealing to fish.
- Rigging Options: Rig your soft plastics on hooks, jigheads, or weighted swimbait hooks to achieve the desired action and presentation. Experiment with different rigging options and techniques to find what works best for your target species and fishing conditions.
By mastering these advanced techniques for making specialized types of fishing lures, you’ll be able to expand your repertoire and create custom lures for a wide range of fishing situations. Whether you’re targeting fish in shallow water with topwater baits or probing deeper depths with crankbaits, having the skills to make your own lures will give you a competitive edge on the water.
Troubleshooting Common Problems
Even the most experienced lure makers encounter challenges from time to time. Understanding common problems and how to address them will help you troubleshoot issues and refine your lure-making skills.
1. Lure Action
- Problem: Your lure isn’t swimming or diving properly, or it’s spinning or rolling in the water.
- Solution: Check the weight distribution, balance, and hardware placement of your lure. Make adjustments as needed to achieve the desired action and stability.
2. Paint and Finish
- Problem: The paint on your lure is chipping, peeling, or not adhering properly.
- Solution: Ensure that the lure body is clean and free of grease or debris before painting. Use a primer to improve paint adhesion, and apply multiple thin coats of paint for better coverage and durability. Finish with a clear topcoat or epoxy to protect the paint and give the lure a glossy finish.
3. Durability
- Problem: Your lure is breaking or coming apart after repeated use.
- Solution: Use durable materials and construction methods, such as through-wire construction or reinforced joints, to improve the strength and durability of your lures. Test your lures under realistic fishing conditions to identify weak points and make necessary reinforcements.
4. Attractiveness
- Problem: Fish aren’t showing interest in your lure, or they’re striking but not getting hooked.
- Solution: Experiment with different colors, sizes, and styles of lures to find what works best for the fish species and fishing conditions you’re targeting. Pay attention to factors such as water clarity, light conditions, and the behavior of the fish to fine-tune your lure selection and presentation.
5. Consistency
- Problem: Your lures vary in size, shape, or performance from one batch to the next.
- Solution: Standardize your materials, tools, and techniques to achieve greater consistency in your lure-making process. Keep detailed records of your recipes, measurements, and assembly methods to replicate successful lures and troubleshoot problems more effectively.
Refining Your Lure-Making Skills
In addition to troubleshooting common problems, there are several ways you can refine your lure-making skills and take your creations to the next level.
1. Practice Regularly: Like any craft, making fishing lures requires practice and patience to master. Set aside time regularly to work on your lure-making projects and experiment with new techniques and designs.
2. Learn from Others: Seek out resources such as books, videos, and online forums where experienced lure makers share their knowledge and expertise. Don’t be afraid to ask questions, seek feedback, and learn from others’ successes and mistakes.
3. Experiment and Innovate: Don’t be afraid to think outside the box and try new materials, designs, and techniques in your lure-making projects. Experimentation is key to innovation and discovering what works best for you and your fishing style.
4. Pay Attention to Detail: Pay attention to the smallest details in your lure-making process, from the placement of eyes and hooks to the finish and texture of the lure body. Small adjustments can make a big difference in the attractiveness and effectiveness of your lures.
Conclusion
Making fishing lures is a rewarding and creative endeavor that allows you to customize your tackle and hone your skills as an angler. By mastering the techniques outlined in this guide and troubleshooting common problems, you can create custom lures that not only look great but also perform well on the water.
Remember to practice regularly, seek feedback from others, and never stop learning and experimenting. With dedication and perseverance, you’ll be able to craft lures that help you reel in the big ones time and time again.